
Understanding Spray Foam Removal UK
What is Spray Foam Removal?
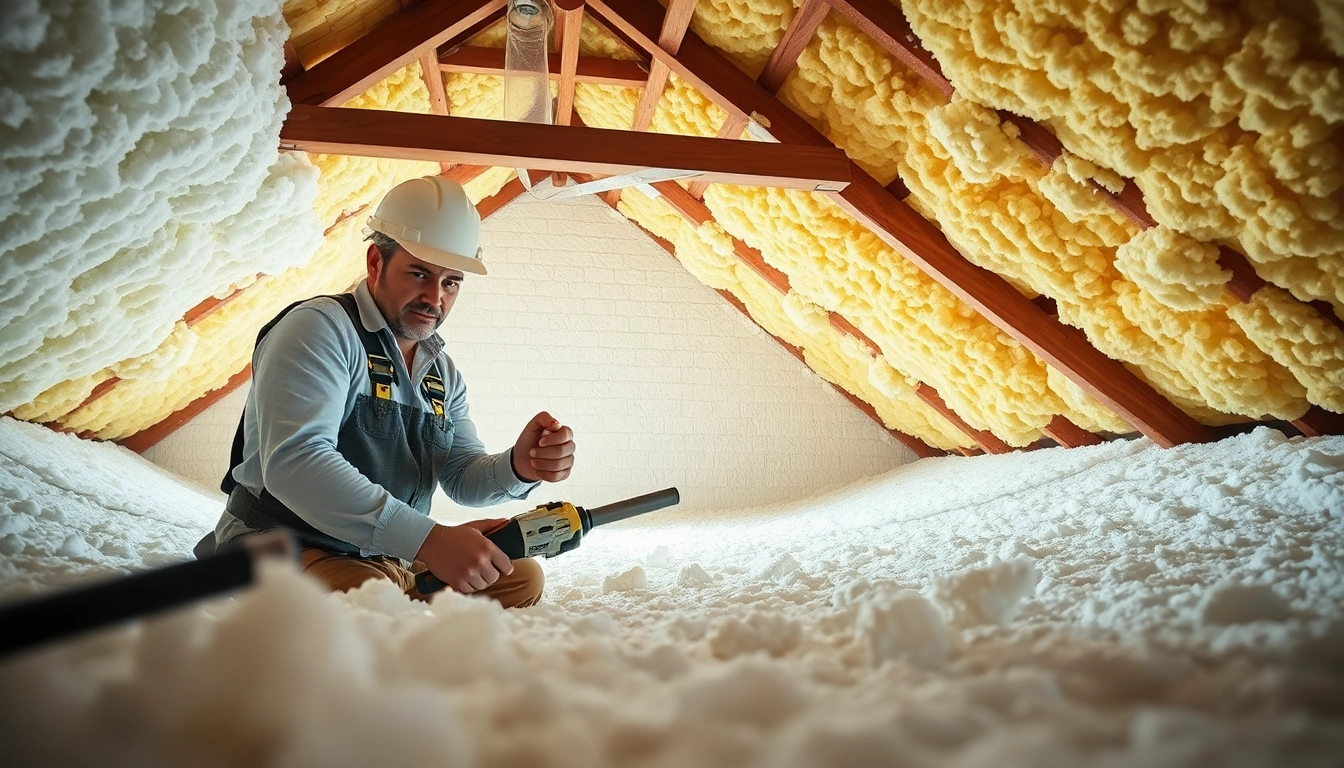
Spray foam removal refers to the process of eliminating polyurethane spray foam insulation from surfaces where it has been applied, often in attics, walls, and roofs. This insulation material is known for its excellent thermal resistance and energy-saving properties; however, it can become necessary to remove it due to various circumstances, such as damage, improper installation, or contamination. Effective spray foam removal involves specialized tools, techniques, and knowledgeable personnel, ensuring that the removal is done safely and effectively.
Reasons for Spray Foam Removal
There are several reasons why homeowners and businesses may seek spray foam removal UK, including:
- Improper Installation: If the spray foam was incorrectly applied, it may not adhere properly, leading to gaps and decreased efficiency.
- Damage or Displacement: Over time, physical damage can occur due to pests, moisture, or settling structures, compromising the foam’s effectiveness.
- Health Concerns: Certain spray foams can release volatile organic compounds (VOCs) or have allergens, prompting users to remove them for health reasons.
- Renovation Needs: During renovations, existing spray foam may need to be removed to allow for structural changes or upgrades.
- Mold and Mildew: Foam that has been exposed to moisture may develop mold or mildew, which can pose serious health risks.
Common Challenges in Spray Foam Removal
Removing spray foam insulation can be challenging due to its adhesive properties and structural bond. Some of the common challenges faced during removal include:
- Adhesive Strength: The strong bond of spray foam makes it difficult to remove without damaging underlying surfaces.
- Messy Procedure: The removal process can create a significant mess, producing debris and dust that require extensive cleanup.
- Time-Consuming: Dependent on the area covered and the thickness of application, removal can be time-intensive, requiring both skill and patience.
- Health Risks: Without precautions, workers may be exposed to harmful chemicals, necessitating proper safety measures.
- Disposal Complications: Spray foam must be disposed of in an environmentally responsible manner, and local regulations can vary.
Assessing the Need for Spray Foam Removal UK
Signs That Indicate Removal is Necessary
Homeowners should be vigilant for signs indicating that spray foam removal is required. Major indicators include:
- Visible Damage: Cracks, peeling, or noticeable discoloration in the foam may indicate the need for removal.
- Odor: An unusual smell can indicate that the foam is degrading or has encountered moisture.
- Allergic Reactions: Increased allergy symptoms among occupants may suggest air quality issues linked to the foam.
- Increased Energy Bills: Inefficient insulation can lead to higher energy costs, signaling a need for inspection and possible removal.
- Pest Infestation: Insects or rodents nesting within insulation may necessitate removal to eliminate the pests.
Evaluating Potential Risks
The potential risks associated with leaving damaged or contaminated spray foam intact need careful consideration. These can include:
- Structural Damage: Continuing to use compromised foam can lead to more severe damage in surrounding structures.
- Health Hazards: Mold growth or chemical exposure could result in serious health issues for occupants.
- Energy Efficiency Loss: Ineffective insulation leads to energy loss, compromising the home’s efficiency and increasing utility costs.
Assessing Financial Implications
Financially, the implications of spray foam removal can vary considerably based on factors such as the area’s size, removal method, and contractor rates. An initial assessment will include:
- Cost of Removal: Estimates can range widely depending on the difficulty of removal and labor required.
- Potential Repairs: Post-removal repairs may be necessary, which can further increase overall costs.
- Long-Term Savings: Investing in proper removal could lead to long-term savings through improved energy efficiency and health safety.
Best Practices for Spray Foam Removal UK
Preparation Before Starting the Process
Before initiating spray foam removal, adequate preparation is essential to ensure a smooth process. Steps include:
- Assessing the Area: Conduct a thorough evaluation to understand the extent of the foam application and potential obstacles.
- Gathering Necessary Equipment: Ensure all tools and safety gear are on hand before starting the process.
- Planning for Cleanup: Develop a cleanup strategy to manage debris and potential mess created during removal.
- Informing Occupants: Communicate with anyone in the area about the removal to ensure safety and minimize exposure to contaminants.
Tools Required for Effective Removal
Utilizing the right tools is crucial for effective spray foam removal. Essential tools may include:
- Trimming Tools: Utility knives or oscillating saws are necessary for cutting through foam layers.
- Heat Guns: A heat gun can soften the foam, making it easier to remove.
- Scrapers: Flat scrapers make it easier to lift foam from surfaces.
- Protective Gear: Gloves, goggles, and respiratory masks protect against exposure to harmful particles and chemicals.
Safety Precautions to Consider
Safety is paramount during spray foam removal due to potential exposure to toxic substances. Implementing proper precautions includes:
- Ventilating the Area: Ensure enough airflow to avoid the build-up of harmful fumes.
- Using Personal Protective Equipment (PPE): Always wear gloves, masks, and goggles to minimize direct exposure during the removal process.
- Checking for Electrical Hazards: Ensure that electrical connections in the work area are safe prior to starting work.
- Knowing Emergency Procedures: Have a plan in place for emergencies, including access to first-aid supplies.
Step-by-Step Guide to Spray Foam Removal UK
Step 1: Creating a Safe Workspace
Establishing a safe working environment is crucial before starting the removal process. This stage includes:
- Clearing the Area: Remove any furniture or obstacles from the workspace to create ample room for maneuvering.
- Securing Power Sources: Turn off electricity close to the removal area to prevent hazards.
- Improving Airflow: Open windows or use fans to enhance ventilation, allowing any fumes to circulate and disperse.
Step 2: Removing the Foam Layer
The process of actual removal involves careful application of the right techniques:
- Trimming Excess Foam: Use a utility knife or saw to cut excess foam away from surfaces.
- Softening with Heat: Apply heat to facilitate easier removal, allowing the foam to lift away from surfaces more cleanly.
- Utilizing Scraping Tools: Employ scrapers to carefully peel away foam once softened, being mindful not to damage underlying structures.
Step 3: Cleaning and Disposal
Following removal, comprehensive cleaning is necessary for safe and responsible disposal:
- Cleaning Debris: Remove all foam remnants and debris from the workspace, ensuring a clean environment.
- Disposing of Materials: Follow local regulations for disposing of spray foam materials, often requiring special handling due to their chemical composition.
- Final Inspection: Conduct a thorough inspection of the area post-removal to ensure all foam is cleared and the workspace is safe for continued work or occupancy.
FAQs About Spray Foam Removal UK
How long does spray foam removal take?
The duration of spray foam removal depends on the size and complexity of the area but generally takes several hours to a few days.
Is spray foam removal messy?
Yes, the removal process can create a significant mess, so preparation for cleanup is essential before starting the job.
Can I do it myself, or should I hire a professional?
While DIY removal is possible, hiring a professional is recommended for safety and effectiveness, especially if health risks are involved.
What are the costs involved in spray foam removal?
Costs can vary widely based on the size of the area and difficulty of removal but generally range from a few hundred to several thousand pounds.
Are there any after-effects following removal?
Post-removal, there may be minor cleanup activity and potential repairs required, such as wall patching for any damage to surfaces during removal.